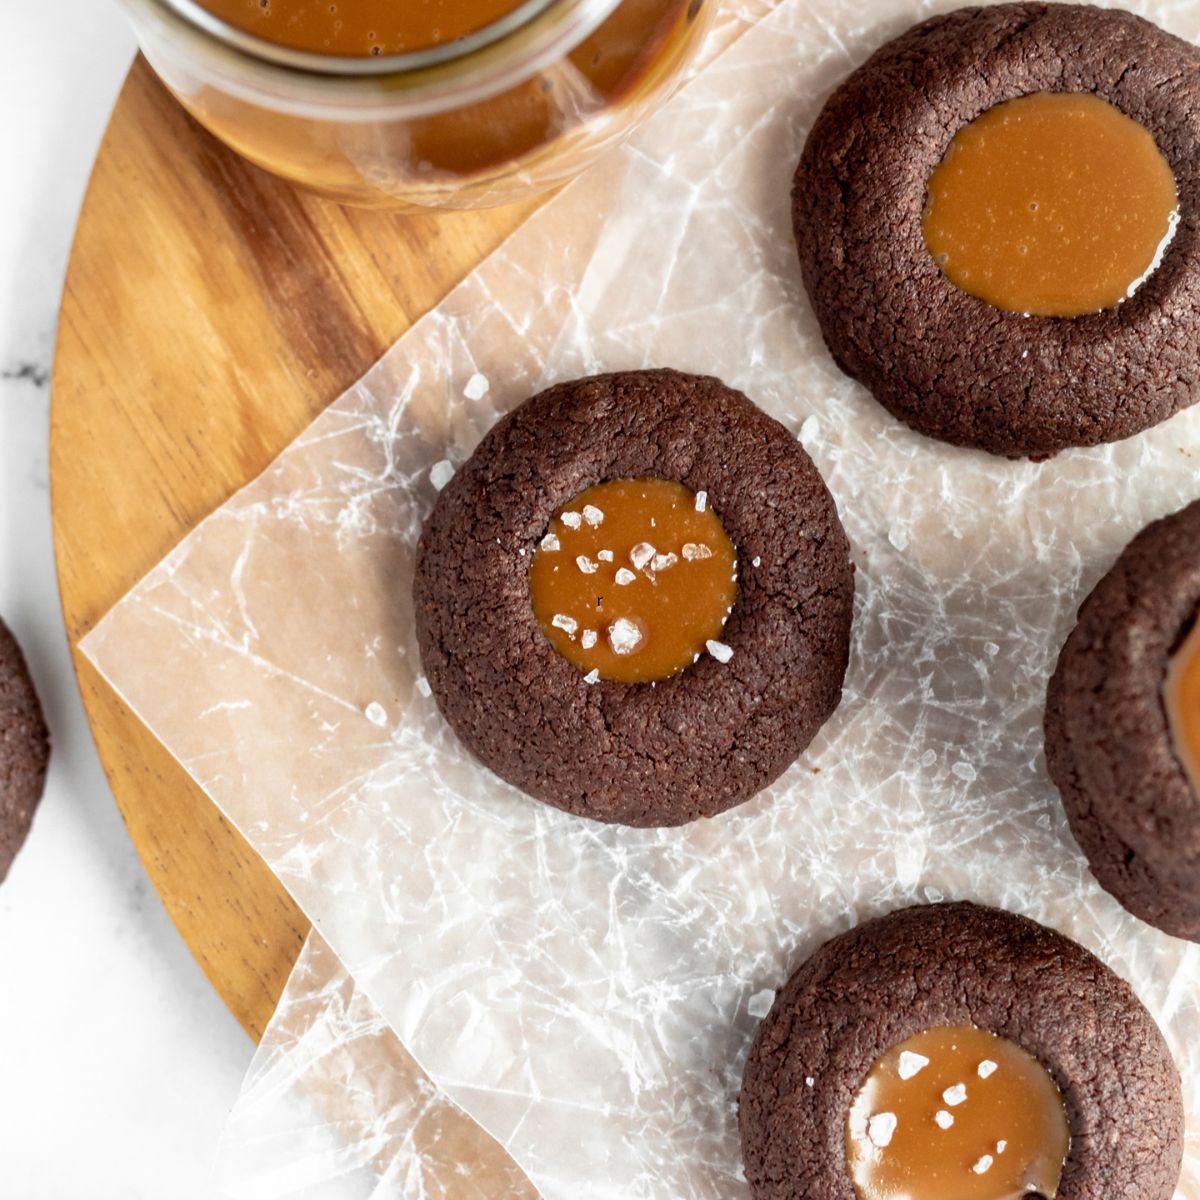
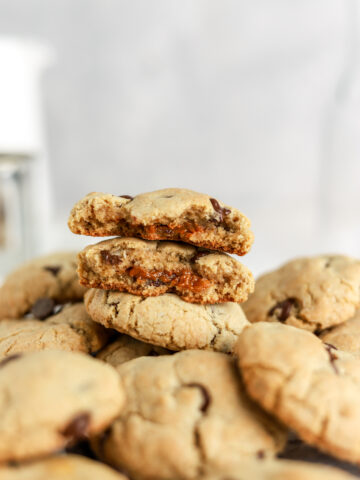
These Dulce de leche cookies are buttery chocolate thumbprint cookies filled with luscious store bought or homemade dulce de leche. This easy no chill cookie recipe is perfect for the holidays or anytime of the year!
Would you like to save this?
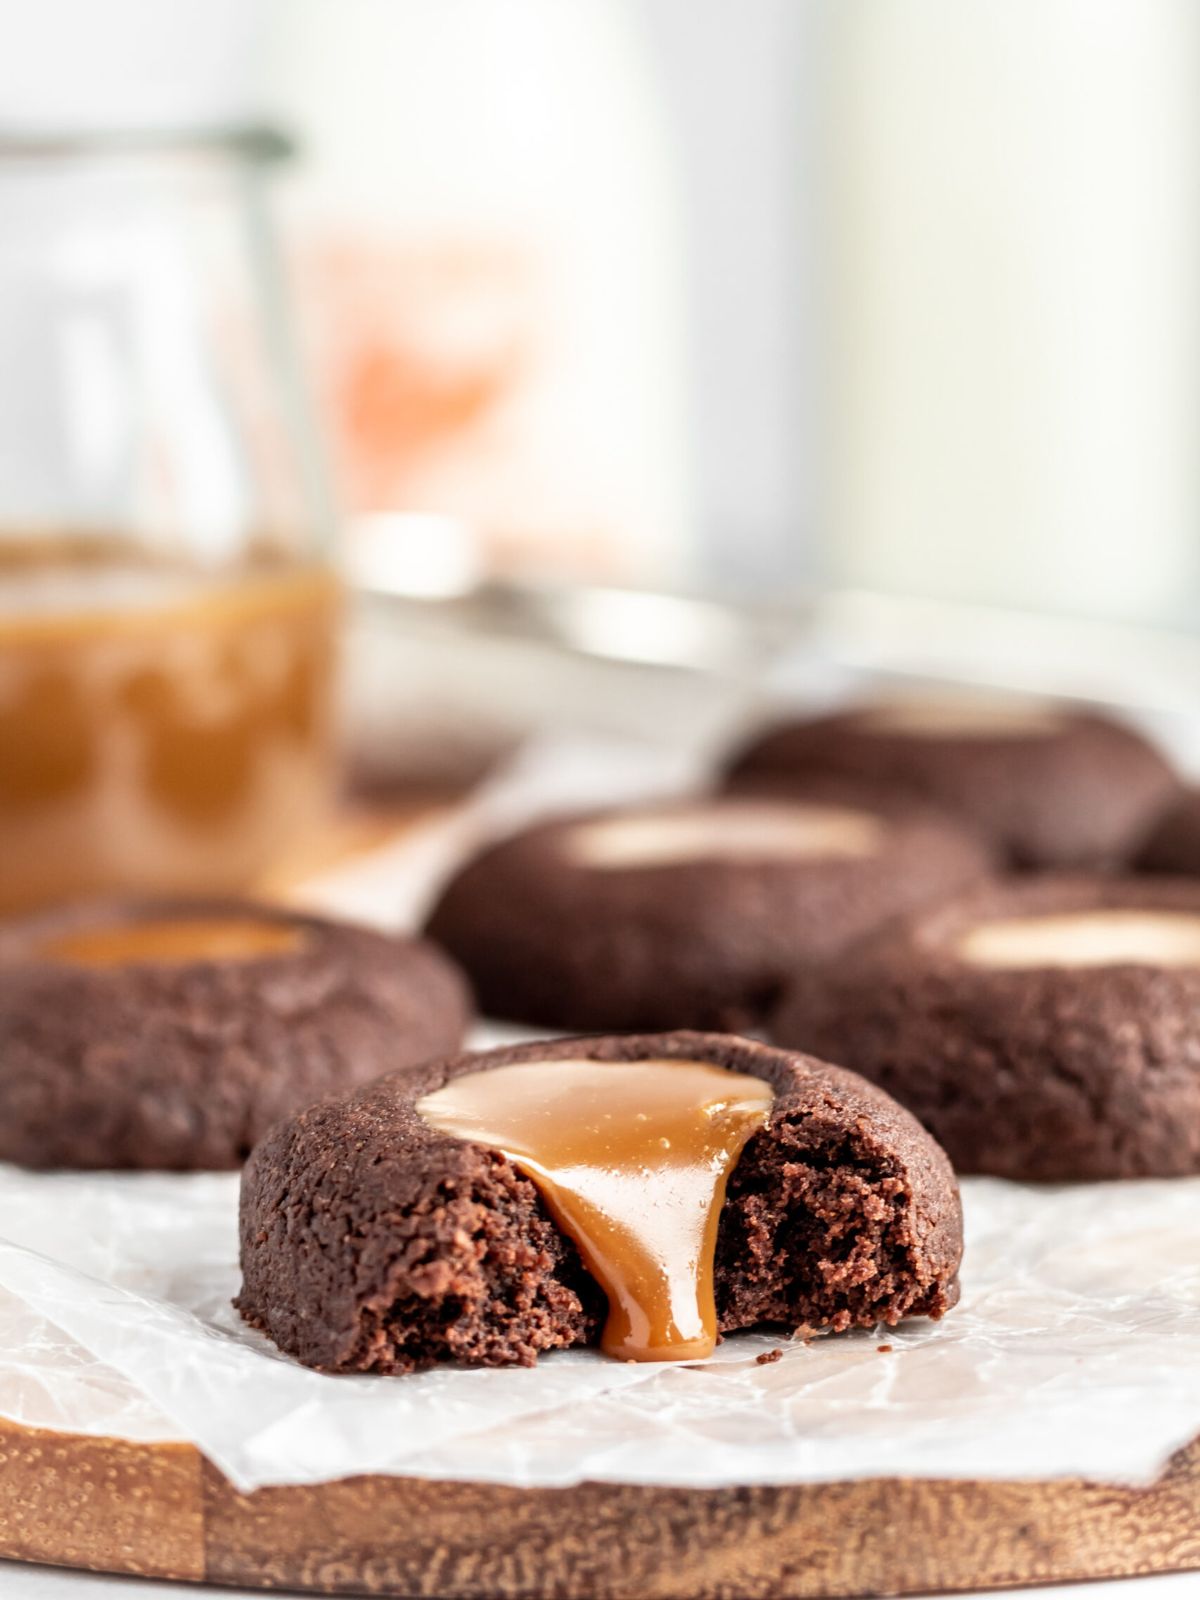
This dulce de leche cookie recipe features of a no-chill chocolate thumbprint dough and store bought dulce de leche. They are so simple to make! Everyone will love these chocolatey, buttery, gooey cookies!
I used my Chocolate Pistachio Thumbprint Cookies for the base of this recipe. I filled them with dulce de leche!
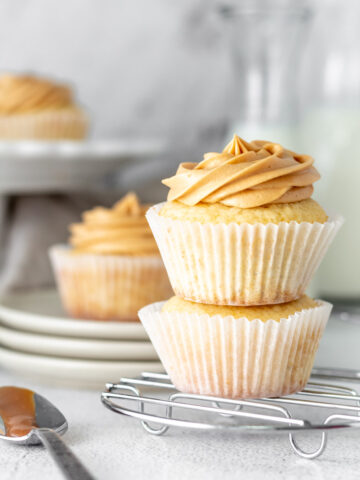
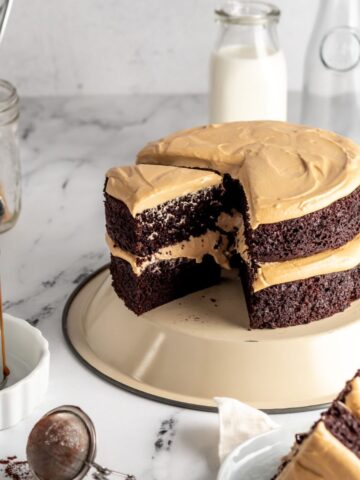
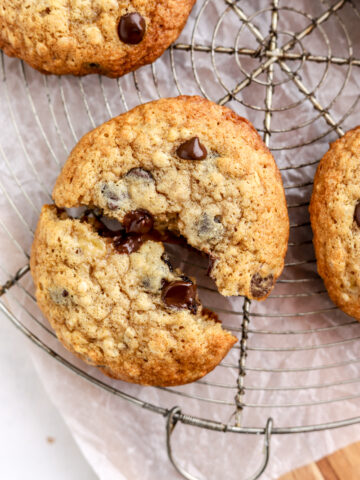
For more recipes using dulce de leche, try my Condensed Milk Chocolate Chip Cookies, Dulce de Leche Chocolate Cake, and Dulce de Leche Cupcakes.
Jump to:
Why This Recipe Works
- These cocoa based cookies will keep you coming back for more!
- Dulce de leche makes the perfect sweet, rich, and creamy filling.
- They are so easy to make. They are made from a no chill dough and store bought dulce de leche. So easy!
Ingredients
Below are useful notes about some of the ingredients for these chocolate dulce de leche cookies.
- Butter: Use unsalted, room temperature butter.
- Sugar: Use granulated sugar.
- 1 Egg yolk
- Vanilla extract: Vanilla extract adds flavor.
- All purpose flour
- Cocoa powder: Use unsweetened cocoa powder.
- Salt: Salt is an important ingredient in the cookie dough. It brings out all the flavors. Without salt, our cookies would be bland.
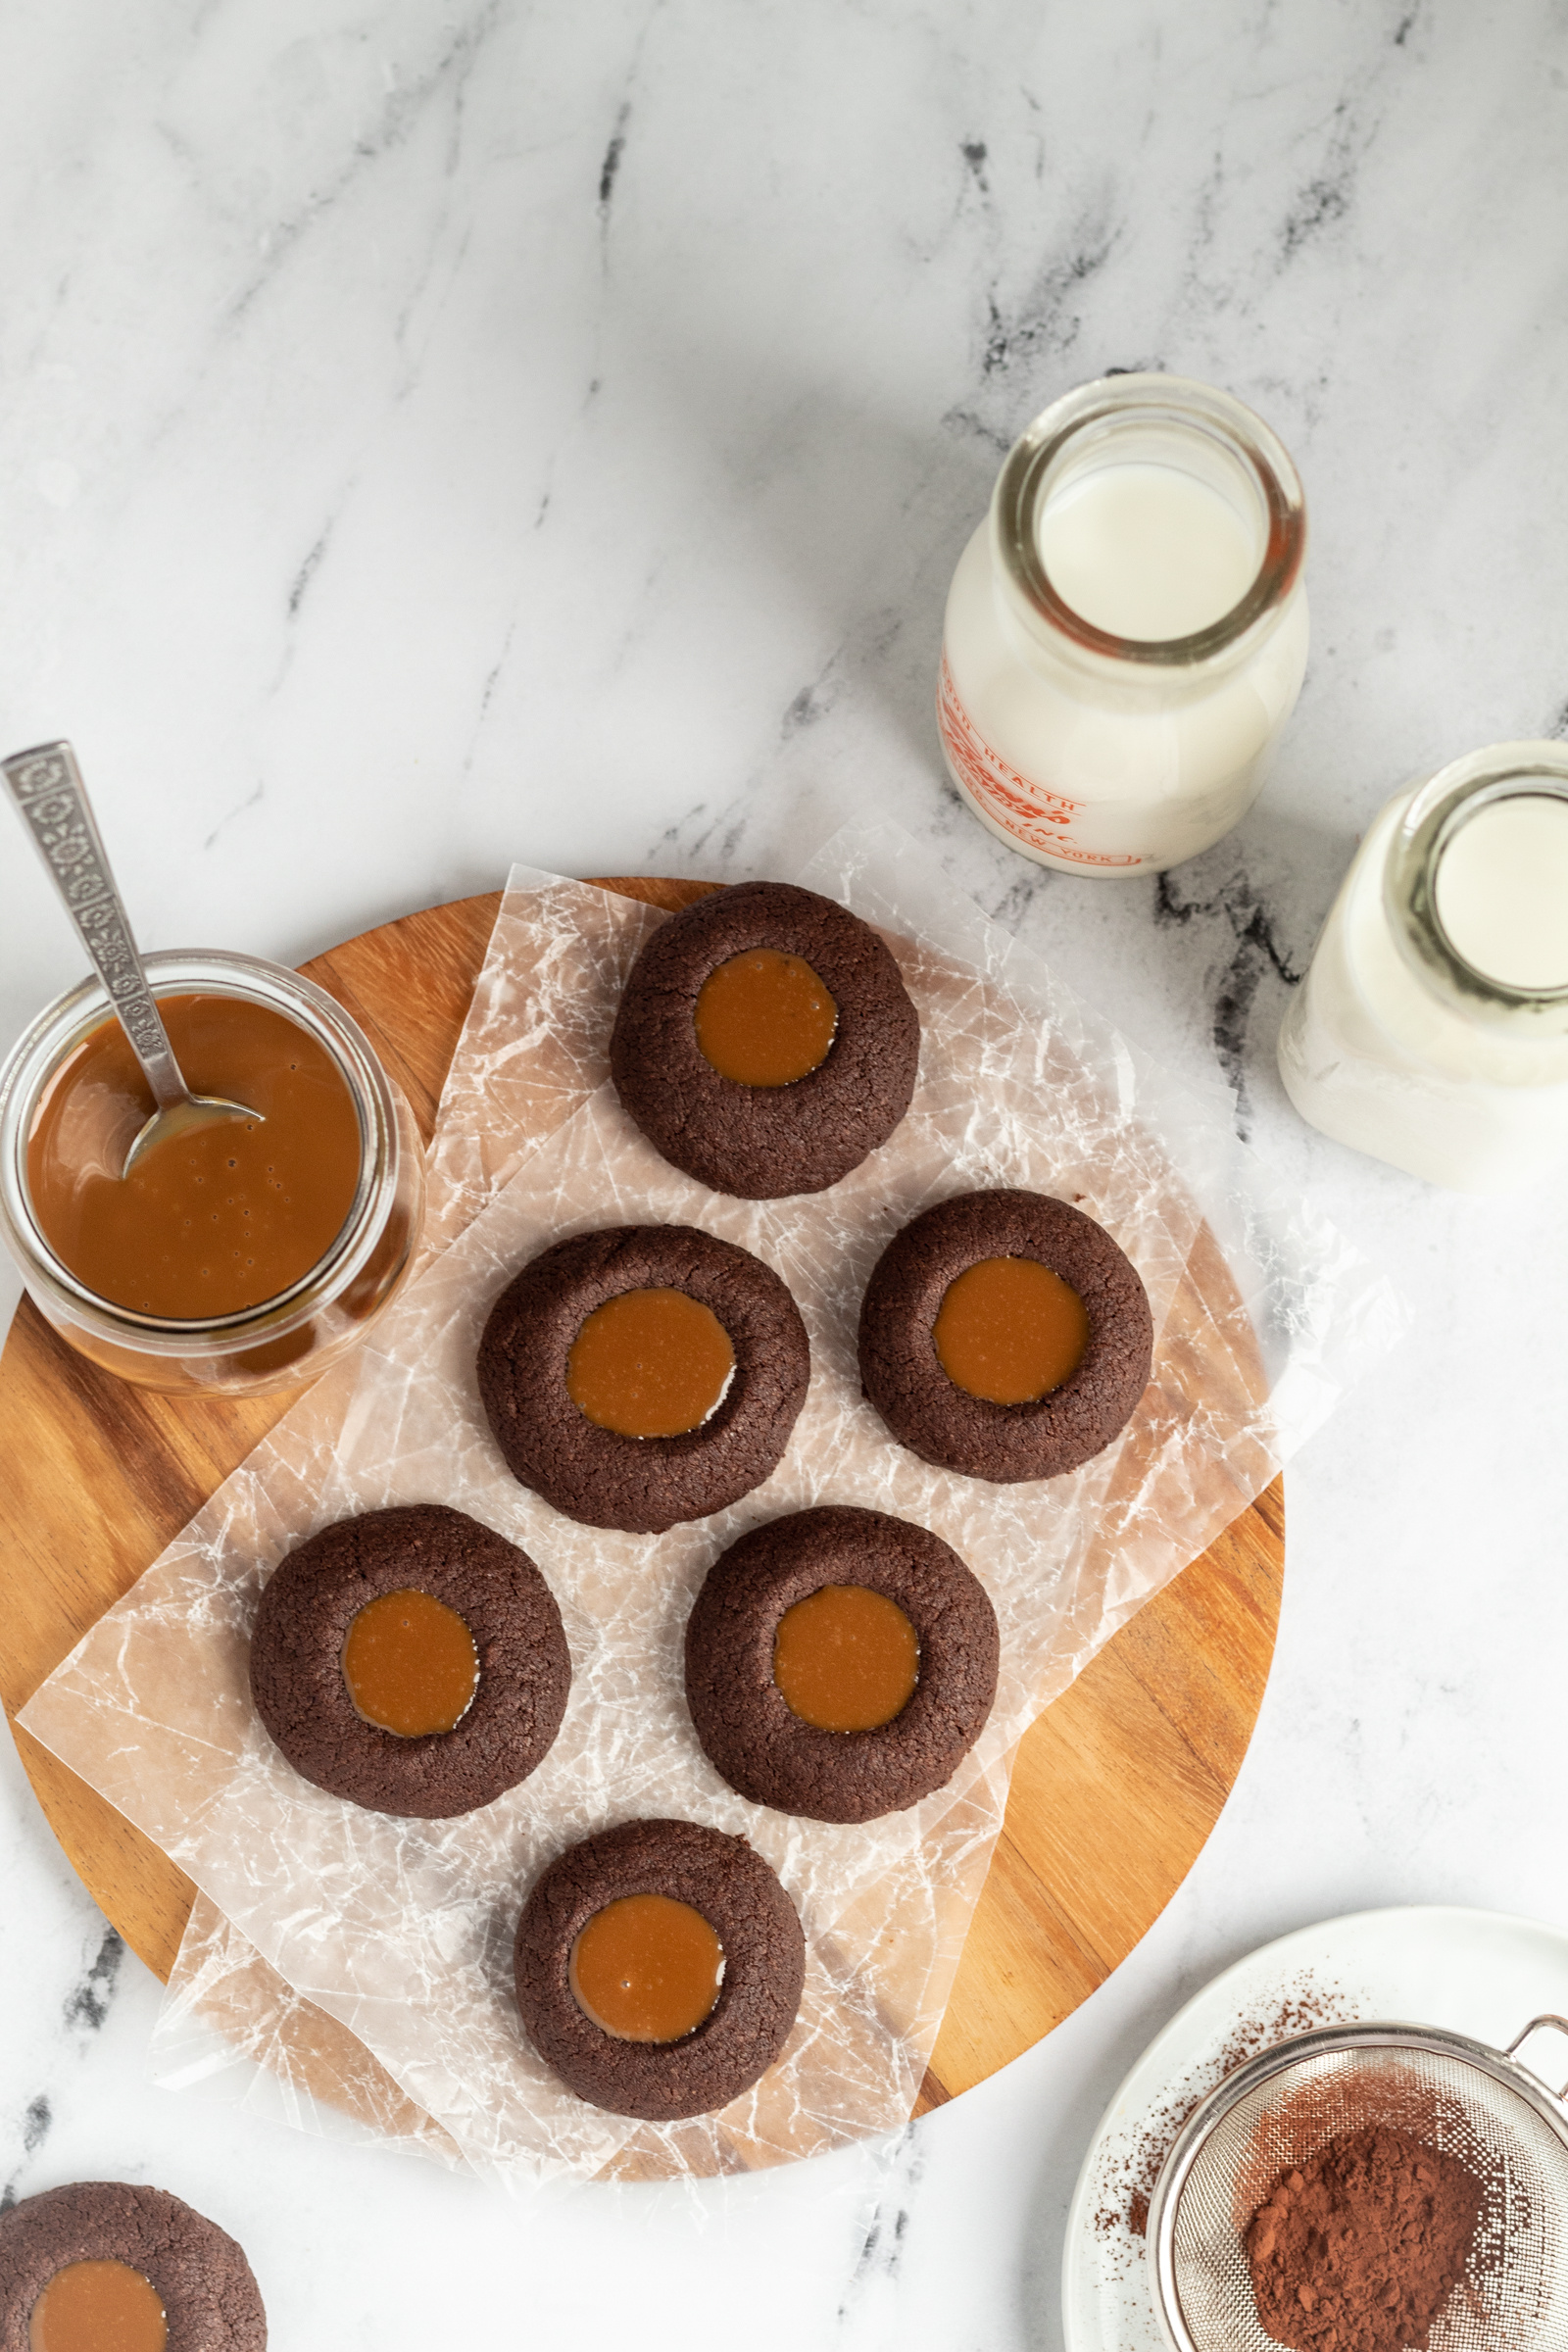
- Dulce de leche: Dulce de leche is a thick, luscious confection that’s popular in Latin America. It’s made by heating sweetened condensed milk until develops a caramel color. Use homemade dulce de leche or store bought. You can find it in the baking aisle or international foods aisle of most grocery stores.
- Sea salt: A sprinkle of sea salt is optional but recommended. Sprinkle a little over the dulce de leche filling.
Please see recipe card below for full list of ingredients and their measurements.
Instuctions
Below are steps on how to make thumbprint cookies with dulce de leche. Please see recipe card below for full list of instructions and ingredients.
Step One: Combine the dry ingredients. Whisk to combine the dry ingredients. Set aside.
Step Two: Cream the butter and sugar. Beat the butter until creamy. Add the sugar and beat until combined. Mix in the vanilla, and egg yolk and blend just until combined.
Step Three: Add the dry ingredients. With the mixer on low speed, beat in the dry ingredients and blend until just combined.
Step Four: Shape dough. Form dough into balls. Place them on the baking sheet. Next, press your thumb or the bottom of a round teaspoon or 1/2 teaspoon measuring spoon into each ball to create an indentations in the center.
Step Five: Bake. Bake 12-14 minutes. Remove from oven and use a rounded teaspoon to reform the indentations if needed.
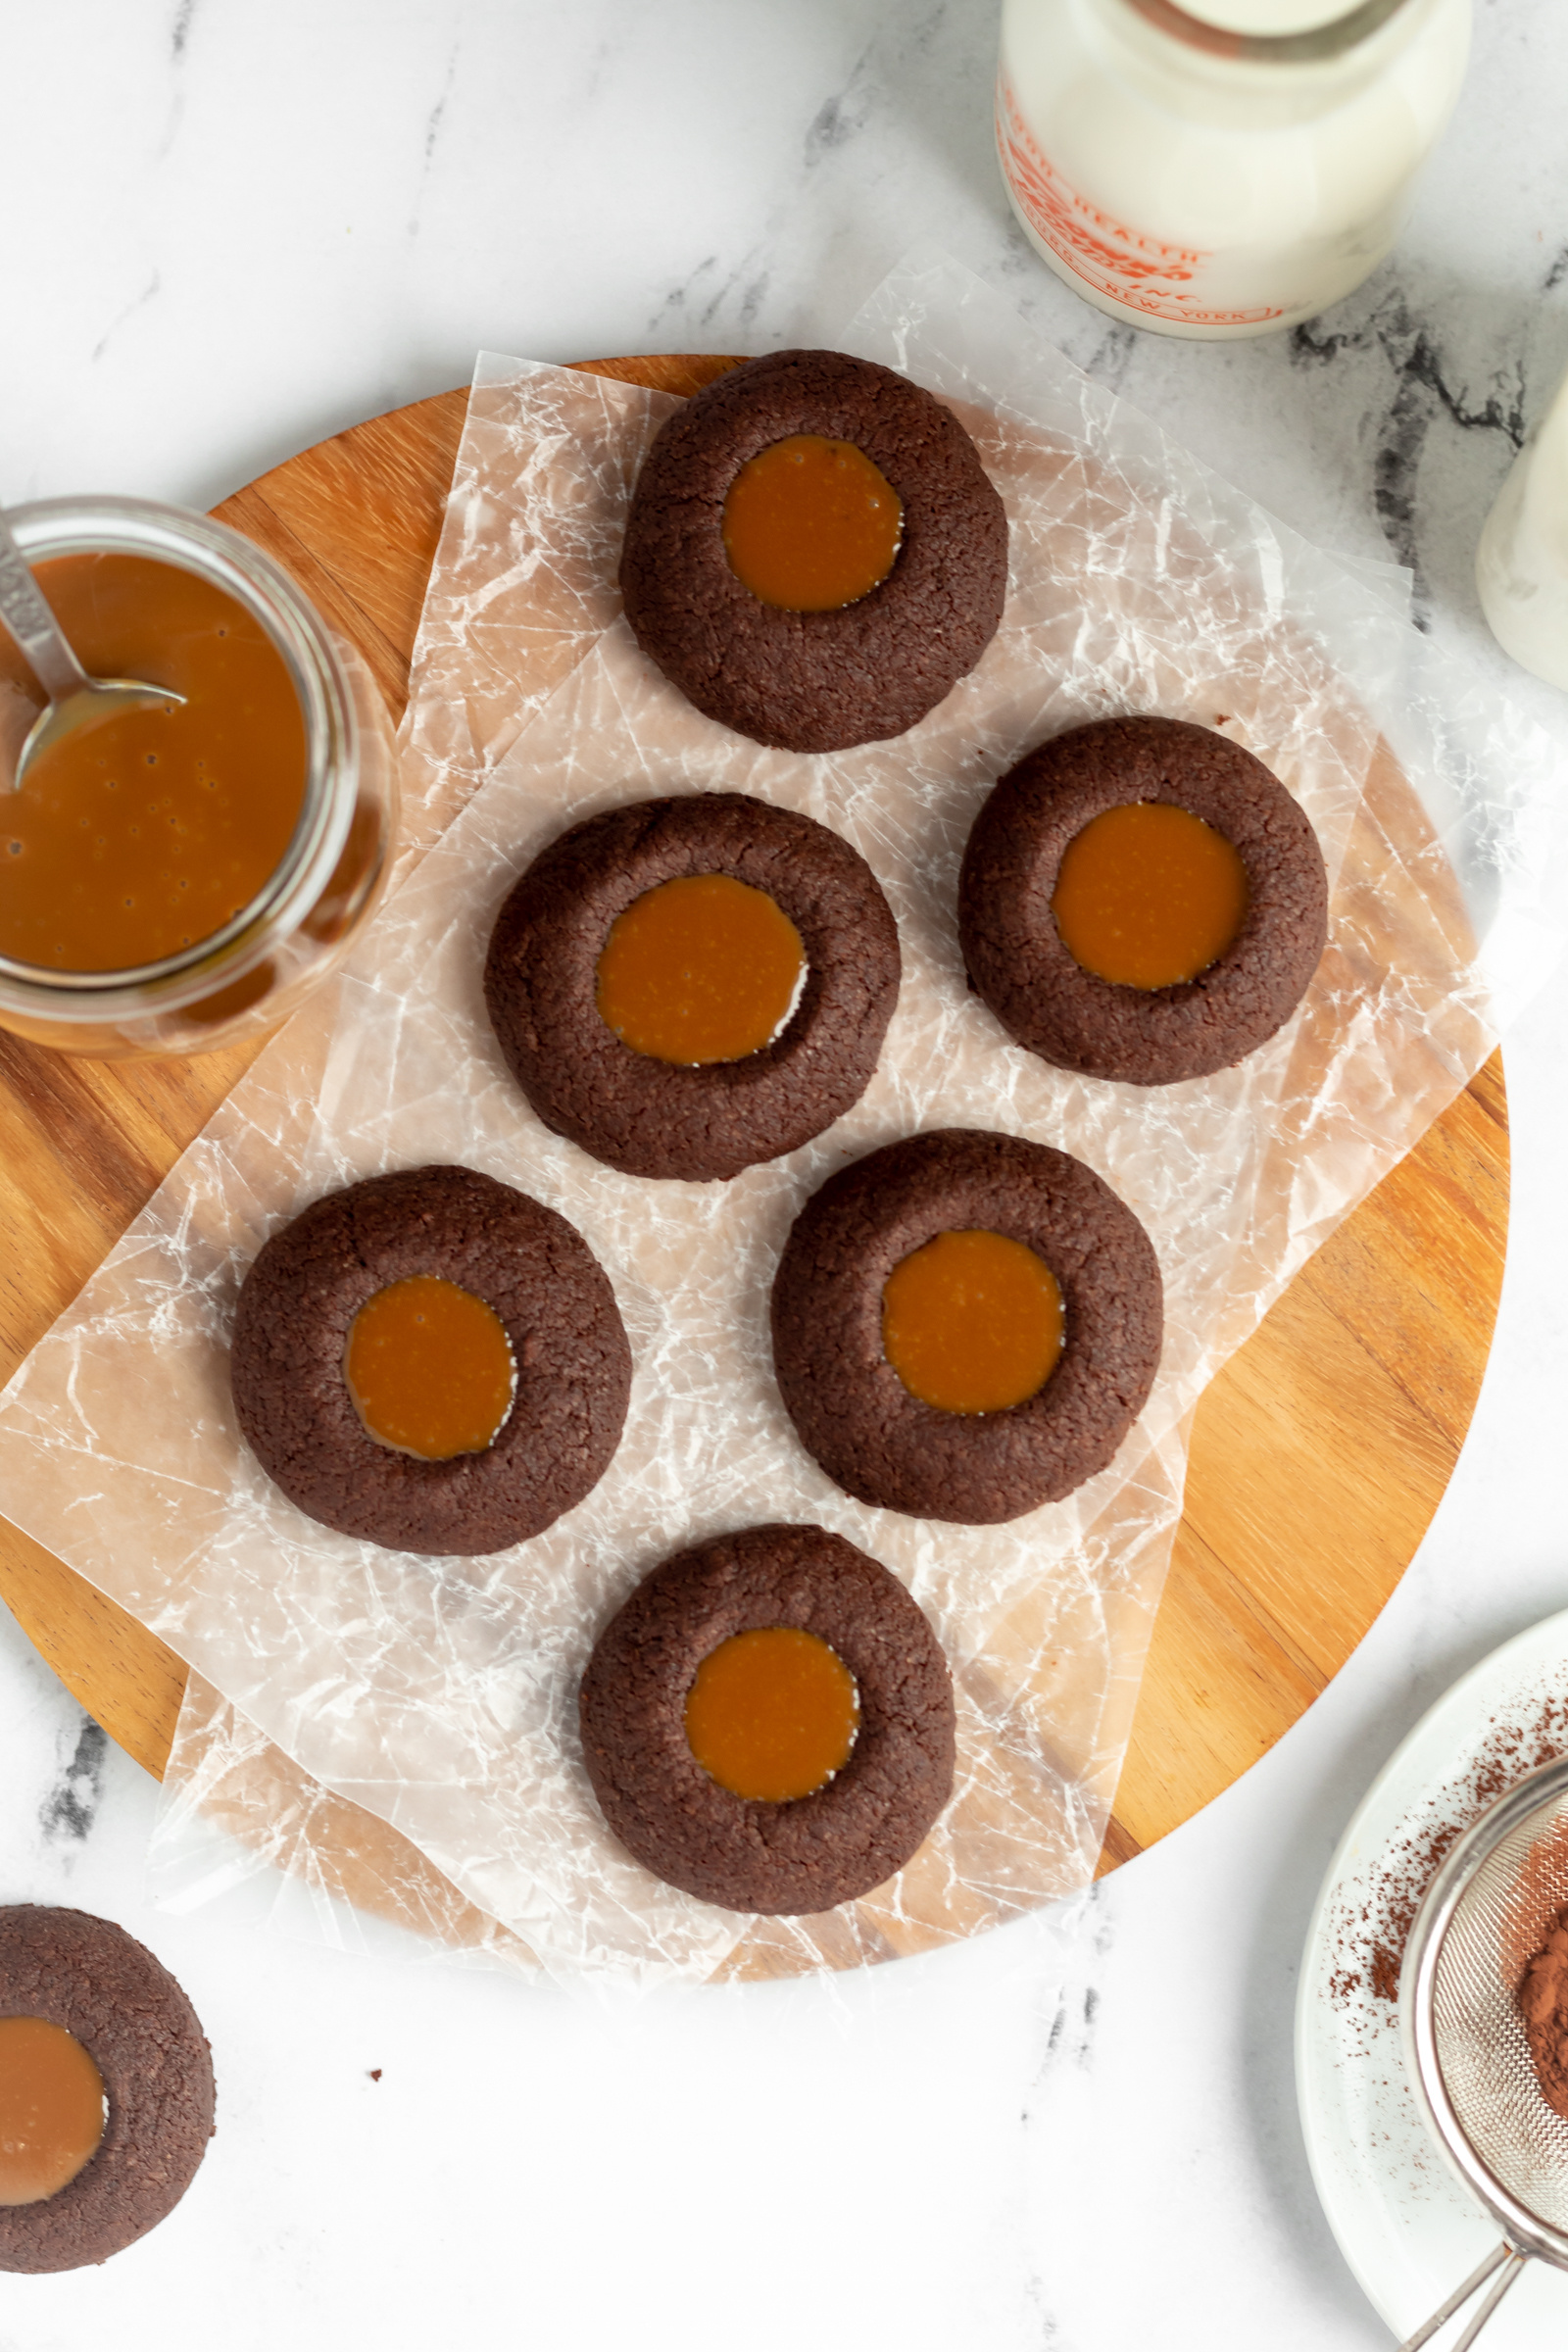
Step Six: Fill with dulce de leche. Fill the cookies with about 1/2 teaspoon of dulce de leche each. Sprinkle with a pinch of flaky sea salt, if desired.
Allow cookies to cool on the cookie sheet for five minutes before transferring them to a wire rack to cool.
Hint: Dip the teaspoon (if using) in flour before using to prevent sticking.
Expert Tips
- Tip #1: Use a spherical measuring spoon. You can use your thumb to make the thumbprint, but I prefer the shape of a 1/2 spherical teaspoon to make these cookies with dulce de leche.
- Tip #2: Dip the measuring spoon in flour. This isn’t necessary, but it helps keep the teaspoon from sticking.
- Tip #2: Don’t make the thumbprint too deep. If you press too deep, the cookie dough will crack. The dulce de leche could leak out when you fill the cookies. If the dough starts to crack, just press it back together.
Recipe FAQs
Dulce de leche is a thick, luscious confection that’s popular in Latin America. It’s made by heating sweetened condensed milk until develops a caramel color.
For more dulce de leche desserts, try my dulce de leche cupcakes with dulce de leche frosting or dulce de leche chocolate cake. It’s also a delicious topping for ice cream.
Store leftover cookies with dulce de leche in an airtight container for up to three days.Freeze for up to two weeks.
More Recipes You Will Love
Did you try this recipe or any other recipe on my website? Please leave a 🌟 star rating and 📝 comment below.
Don’t forget to tag me on Instagram, Facebook, and Pinterest!

Dulce de Leche Cookies
Ingredients
Chocolate Cookies
- ¾ cup (170.25 g) unsalted butter room temperature
- ½ cup (100 g) granulated sugar
- 1 (1) egg yolk
- ¾ teaspoon (0.75 teaspoon) vanilla extract
- 1 ¼ cup (156.25 g) all purpose flour
- ⅓ cup (28.67 g) unsweetened cocoa powder sifted
- ½ teaspoon (0.5 teaspoon) salt
Dulce De Leche Filling
- store bought dulce de leche
- flaky sea salt optional
Instructions
- Preheat oven to 350 F and line cookie sheets with parchment paper.
- In a large bowl, whisk together the flour, salt, and sifted cocoa powder. Set aside.
- In the bowl of an electric mixer, beat the butter on medium speed until creamy, about 1-2 minutes. Add the sugar and mix until combined. Mix in the vanilla extract and egg yolk and blend just until combined. Scrape down the sides of the bowl with a rubber spatula. With the mixer on low speed, beat in the dry ingredients and blend until just combined.
- Form dough into balls, using about 1 tablespoon of dough per ball. Roll the balls between your hands an to make them smooth and place them on the baking sheet.
- Press your thumb or the bottom of a spherical measuring teaspoon or half teaspoon into each ball to create an indentations in the center. Dip the teaspoon (if using) in flour before using to prevent sticking. Be careful not to press to hard or deep that the dough cracks.
- Bake 12-14 minutes. Remove from oven and use a rounded teaspoon to reform the indentations if needed. Fill them with about 1/2 teaspoon of dulce de leche each. Sprinkle with a pinch of flaky sea salt, if desired.
- Allow cookies to cool on the cookie sheet for five minutes before transferring them to a wire rack to cool.
Notes
Nutrition
Please note that nutritional values are created by an online calculator and should only be used as an estimate.
Leave a Reply