
These Snickerdoodles are soft, chewy and delicious! Their buttery flavor, crisp edges, and cinnamon sugar make them a favorite holiday cookie recipe!

Would you like to save this?
Snickerdoodles are a classic! Everyone loves their soft middles and crisp edges and cinnamon sugar coating.
This is my great grandmother’s recipe for Snickerdoodle cookies. I’m so glad to be able to share this tried-and-true family recipe with you!
For more cookie recipes, try apple cider cookie recipe, these chocolate chip cookies with maple syrup and my pumpkin spice biscotti.
Jump to:
Why This Recipe Works
- Whether you’re making these for the holidays, to share with friends, or just to satisfy a sweet craving, snickerdoodles are sure to be a hit! For another classic holiday recipe, try my chocoalte crinkle cookies!
- You probably already have most of the ingredients you need.
- You don’t need any special equipment to make them.
- These cookies have that wonderful combination of cinnamon and sugar in every bite just like my snickerdoodle bars recipe.
- They have the best texture! They are soft in the middle and slightly crisp on the edges.
Ingredients

Below are notes about some of the ingredients for Snickerdoodle cookies.
- Cream of tartar: Cream of tartar gives snickerdoodles a slightly tangy flavor and their chewy texture. I would not recommend leaving out the cream of tartar. The combination of cream of tartar and baking soda is what gives snickerdoodles their distinct taste and texture.
- Butter: We are using room temperature, unsalted butter.
- Sugar: This recipe uses granulated sugar in the cookie dough and in the coating. Granulated sugar adds sweetness and helps give the cookies structure.
- Cinnamon: Cinnamon helps give snickerdoodles their classic flavor. The color of the cinnamon coating gives the flavor of the cookies away and is so amazing to bite into! If you love cinnamon, try my banana cinnamon bread and pumpkin spice banana muffins.
Please see recipe card below for complete list of ingredients and their measurements.
Subsitutions
- I haven’t tested a gluten free version of these cookies, but most of my cookies can be made gluten free. I recommend using a 1:1 substitute of gluten free flour.
- Some Snickerdoodle recipes use shortening in place of butter. I have never tried this and I prefer to use butter. I like the flavor butter adds.
Instructions


Step 1: (Photo 1 above) In a large bowl, using a mixer, cream the butter and sugar until well combined.
Step 2: (Photo 2 above) Next, add the eggs one at a time. Mix until smooth.
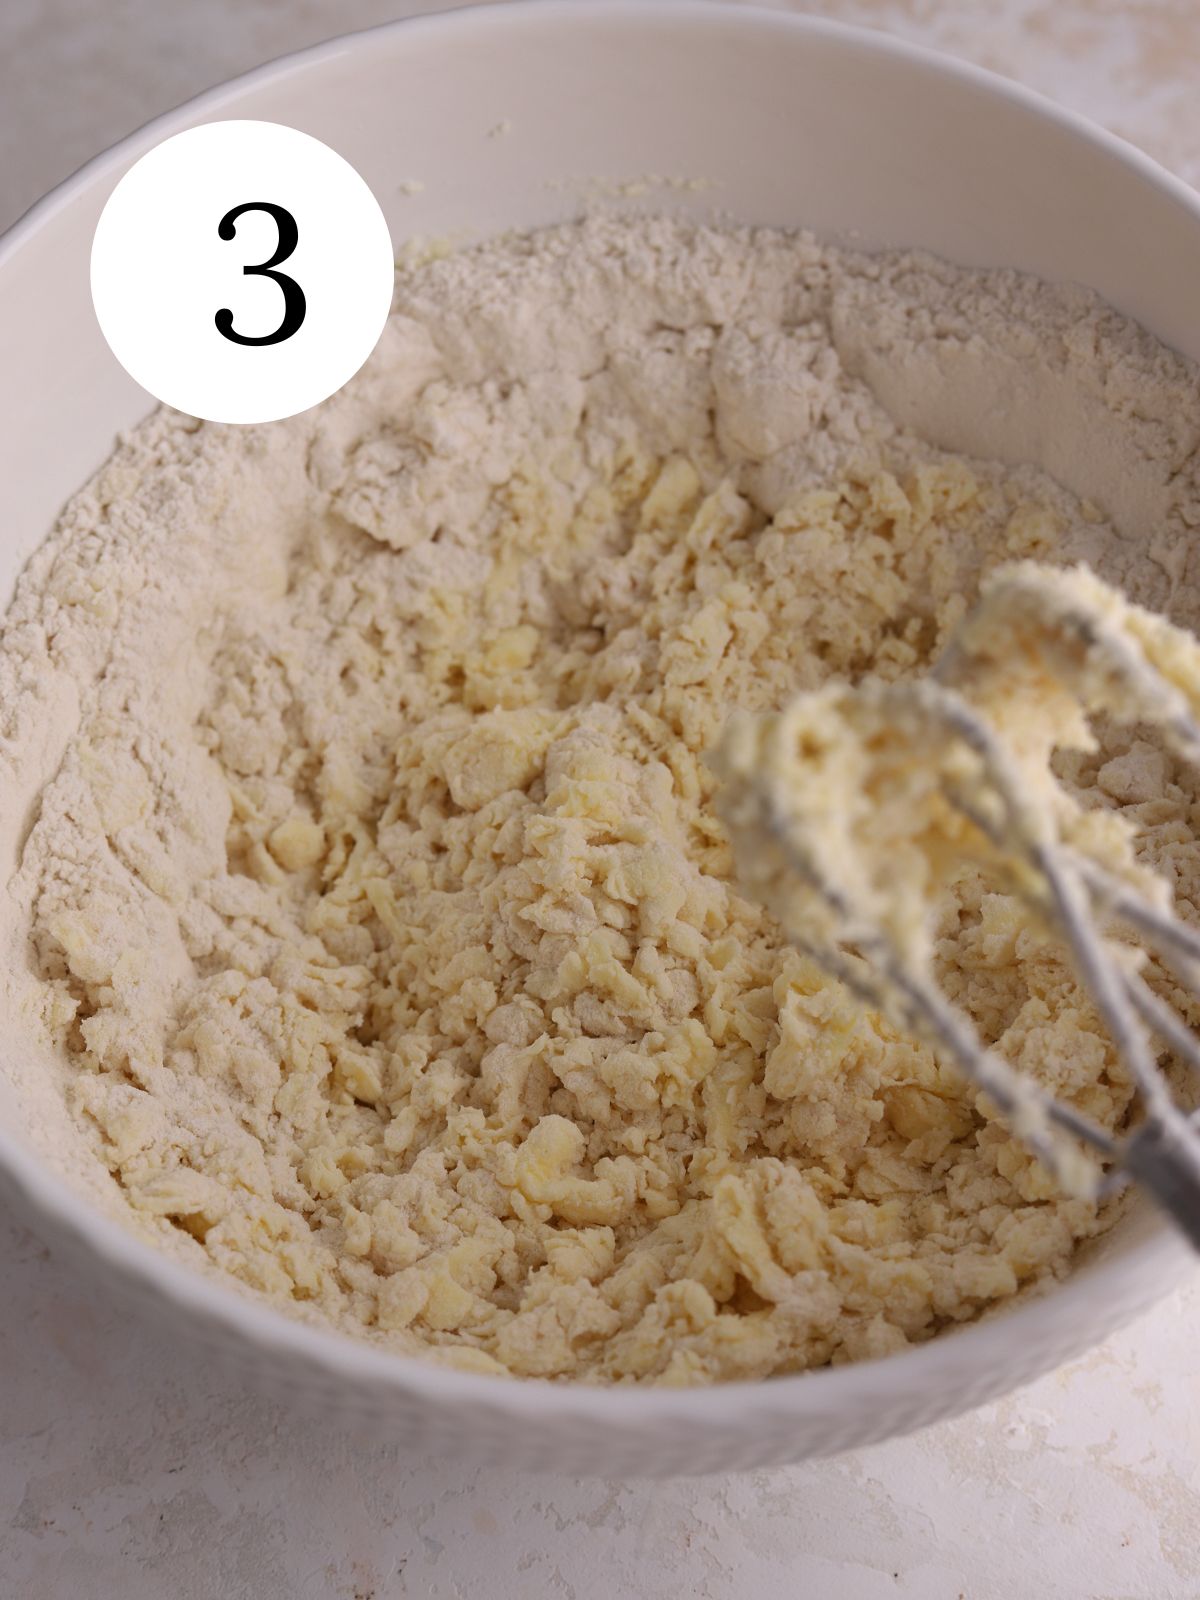
Step 3: (Photo 3 above) Add the dry ingredients and mix til combined. Cover the bowl with plastic wrap. Chill dough for at least 30 minutes.
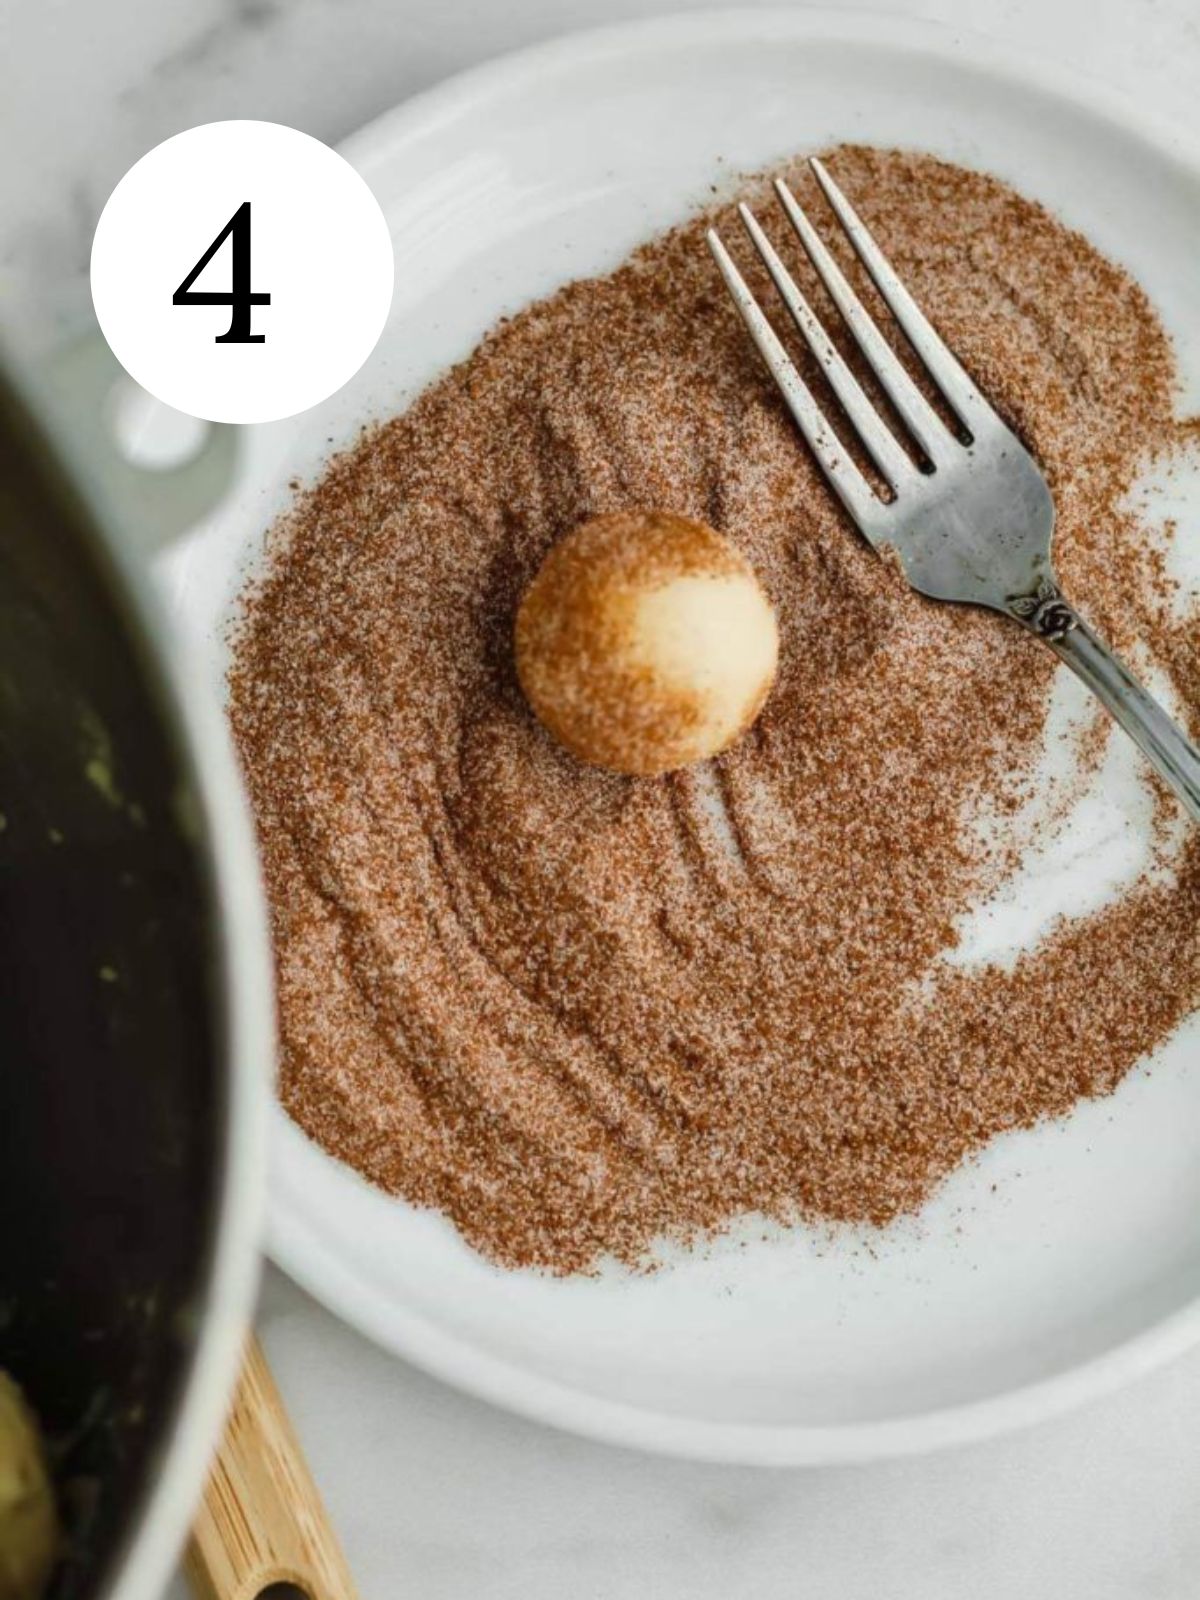
Step 4: (Photo 4 above) Stir together the sugar and cinnamon. Scoop out about 1 tablespoon of dough. Roll into a ball and roll in the cinnamon sugar mixture to coat.

Step 5: Chill the dough. Stir together the sugar and cinnamon. Roll each cookie dough into balls and roll in the cinnamon sugar mixture to coat. Place the balls about 2 inches apart.
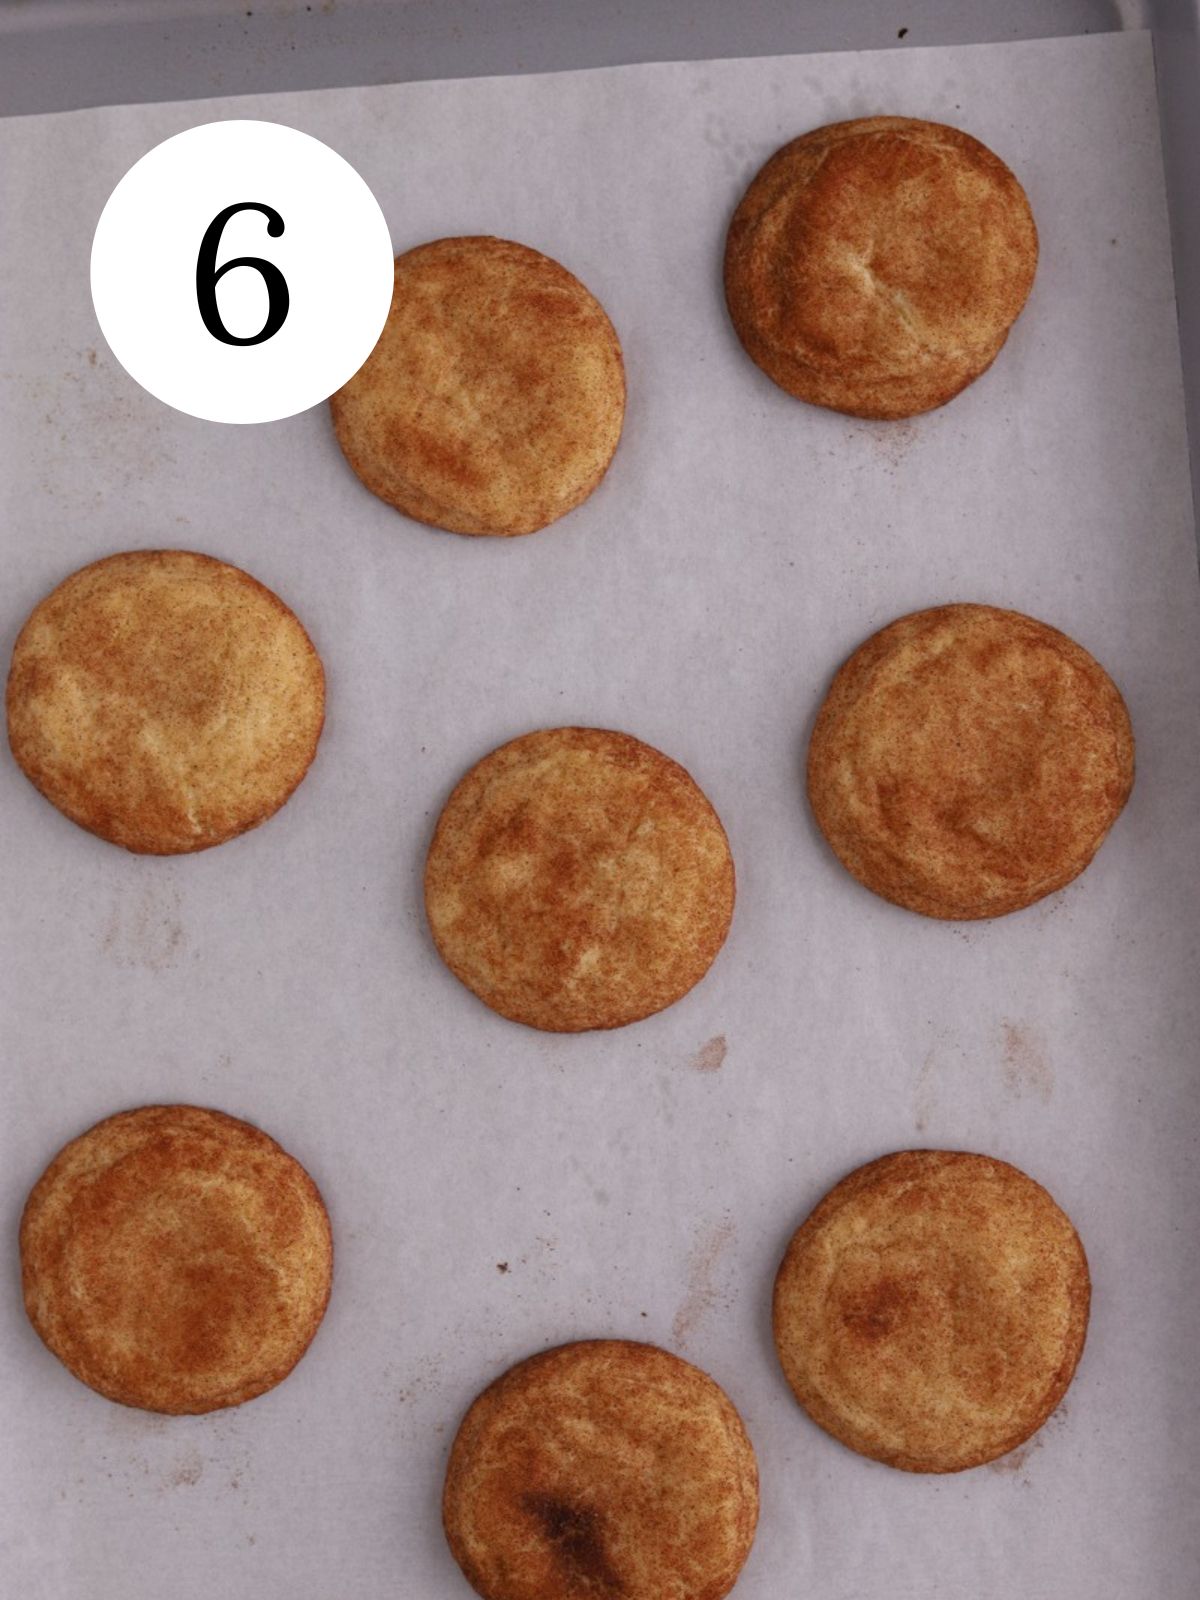
Step 6: Bake. Bake at 375 Fahrenheit for 9-11 minutes. .
Expert Tips
- Avoid overmixing. Overmixing can lead to dense cookies. Mix cookie dough until just combined.
- Sift the flour. Sift the flour with a sifter or a strainer. Sifting the flour makes the cookies softer and more fluffy.
- Chill the dough. This dough requires a quick 30 minute chill time. Chilling the dough prevents the cookies from spreading too much while they bake.
Recipe FAQs
Snickerdoodles are buttery cookies rolled in cinnamon sugar. They have a strong cinnamon flavor. Cream of tartar gives them a little bit of a tangy flavor. They have crisp edges and soft centers.
Cream of tartar combined with baking soda gives snickerdoodles their distinct slightly tangy taste and chewy texture. It helps distinguish snickerdoodles from sugar cookies.
Store leftover cookies in an airtight container at room temperature for up to 3 days. Freeze baked cookies in an airtight container for up to 2 months.

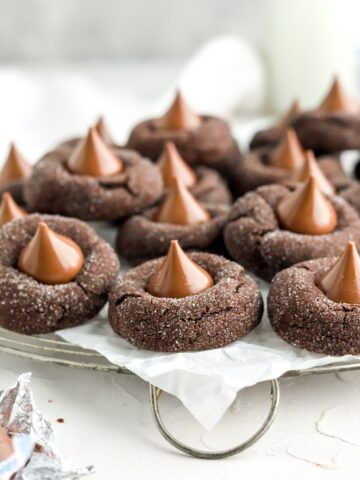
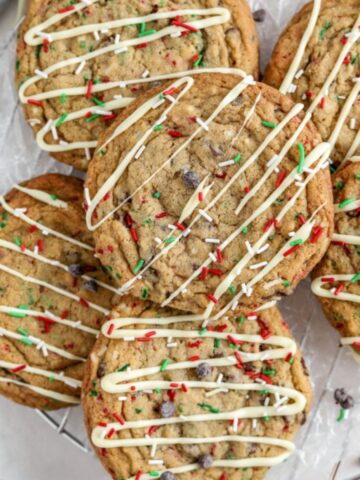
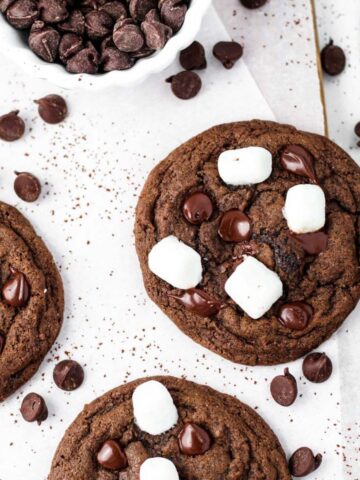
More Recipes You Will Love
Did you try this recipe or any other recipe on my website? Please leave a 🌟 star rating and 📝 comment below. I’d love to hear from you!
Don’t forget to tag me on Instagram, Facebook, and Pinterest!

Snickerdoodles
Ingredients
Snickerdoodle Cookie Dough
- 1 cup (227 g) unsalted butter room temperature
- 1 1/2 cups (300 g) granulated sugar
- 2 3/4 cups (343.75 g) all purpose flour sifted
- 2 teaspoon (10 g) cream of tarter
- 1 teaspoon (4 g) baking soda
- 1/2 teaspoon (3 g) salt
- 2 (2) large eggs room temperature
Cinnamon Sugar Coating
- 2 tablespoons (24 g) granulated sugar
- 2 teaspoon (4 g) cinnamon
Instructions
- In a medium-sized bowl, whisk together the flour, cream of tarter, baking soda and salt. Set aside.
- In a large bowl, using a mixer, cream the butter and sugar until well combined (about 2 minutes). Mix in the eggs and mix until smooth. Add the dry ingredients to the sugar mixture gradually and mix until just combined. Chill dough for at least 30 minutes.
- In a small mixing bowl, stir together the 2 tbsp sugar and 2 tsp cinnamon.
- Preheat oven to 375F. Line baking sheets with parchment paper and set aside.
- Take the dough out of the fridge and scoop out about 1 tablespoon per cookie. Roll each cookie into a ball and then roll each ball in the cinnamon sugar mixture to coat. Place the balls about 2 inches apart on the prepared baking sheets.
- Bake 9-11 minutes. Remove from the oven and allow to cool on the baking sheets for 5 minutes and then transfer them to wire racks to cool completely.
Notes
Nutrition
Please note that nutritional values are created by an online calculator and should only be used as an estimate.
Monica
😋 just like Grandma’s
Natalie
Yes! XO
Kathy brittell
These cookies are so good was very busy didn’t rotate in the oven.They came out perfect.Thank you for the delicious recipe.Happy holidays!
Natalie
Hi Kathy,
Thanks so much for trying this Snickerdoodle recipe. I’m so glad they came out perfect and that you enjoyed them! Thanks for your comment and happy holidays to you too! Natalie