
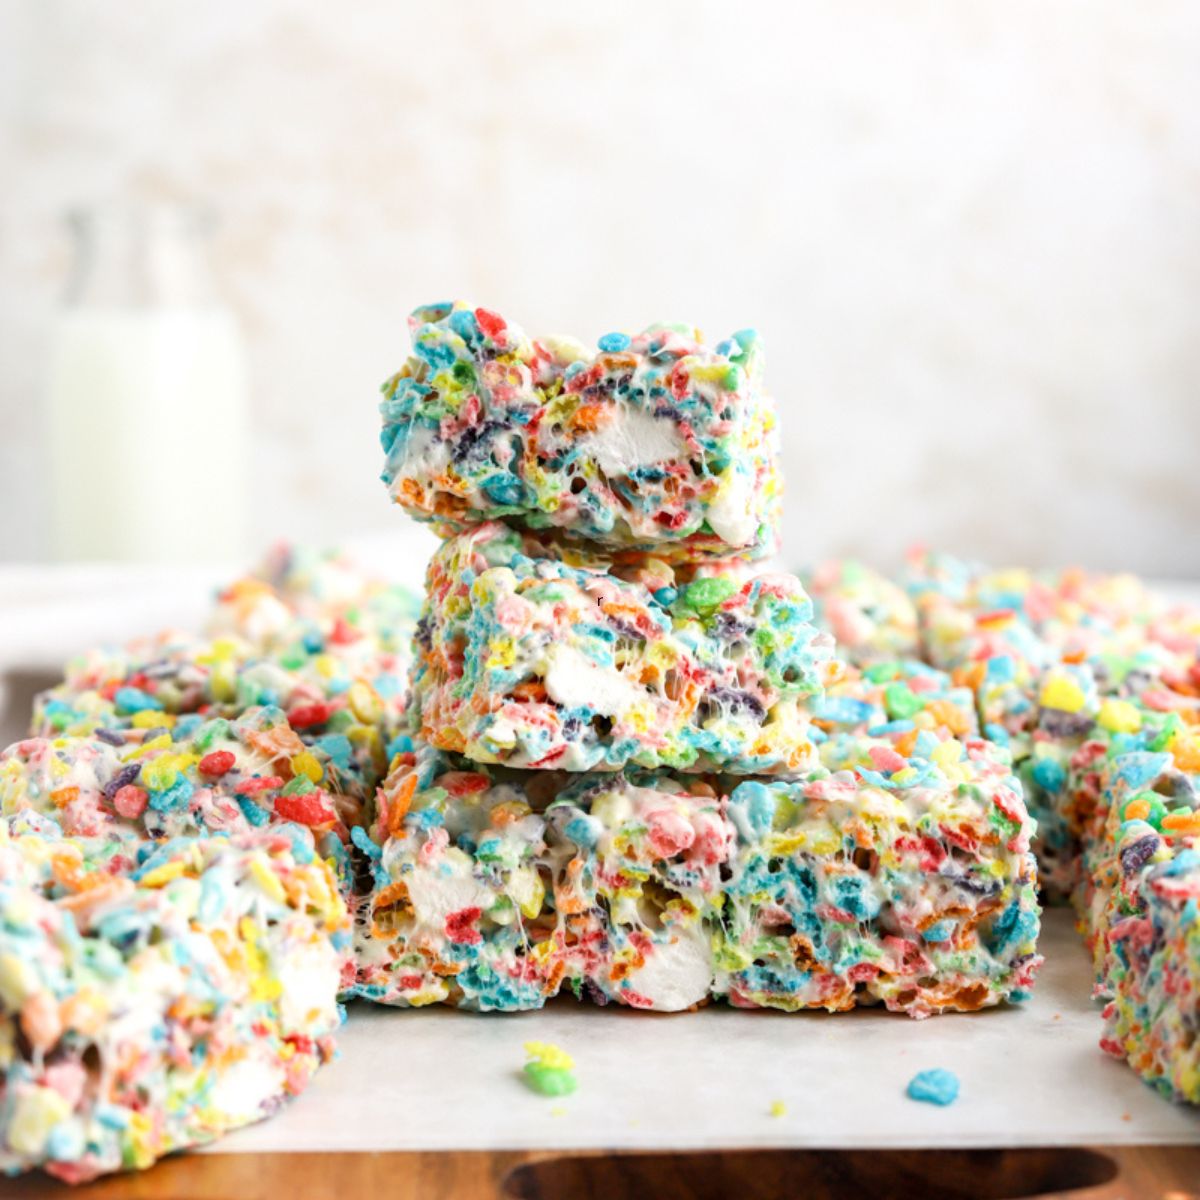
Fruity Pebbles Treats are thick, gooey and packed with flavor! They are a super easy, no bake recipe made with 5 ingredients. They’re perfect for any party, bake sale or a grab and go snack!
Would you like to save this?
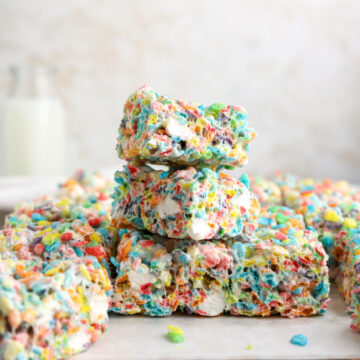
You are going to love this super fun and easy no bake Fruity Pebbles treats recipe. They are made with colorful Fruity Pebbles cereal, lots of butter and extra mini marshmallows. These treats only take about 15 minutes to make, pack easily and are the perfect quick dessert for every occasion!
This recipe for Fruity Pebble Treats is based on my Chocolate Chips Rice Krispie Treats and my M&M Rice Krispie Treats. They’re chewy and gooey like Rice Krispie treats but more colorful and fruity thanks to the Fruity Pebbles!
For another Fruity Pebbles dessert recipe, try my Fruity Pebbles Cake.
Jump to:
Why You’ll Love This Recipe
- You only need 5 ingredients and 10 minutes to make these Fruity Pebbles marshmallows treats.
- If you love colorful and nostalgic Fruity Pebbles cereal, this dessert is for you.
- Both kids and adults will love this Fruity Pebble treat recipe!
- These are the perfect no bake treats for summer. No one wants to turn their oven on when it’s hot outside.
- This Fruity Pebbles dessert packs up well and is perfect for every occasion! Be sure to pack one in your child’s lunchbox for a fun and yummy surprise!
Ingredient Notes
Here are some useful notes on the ingredients for Fruity Pebbles rice crispy treats.
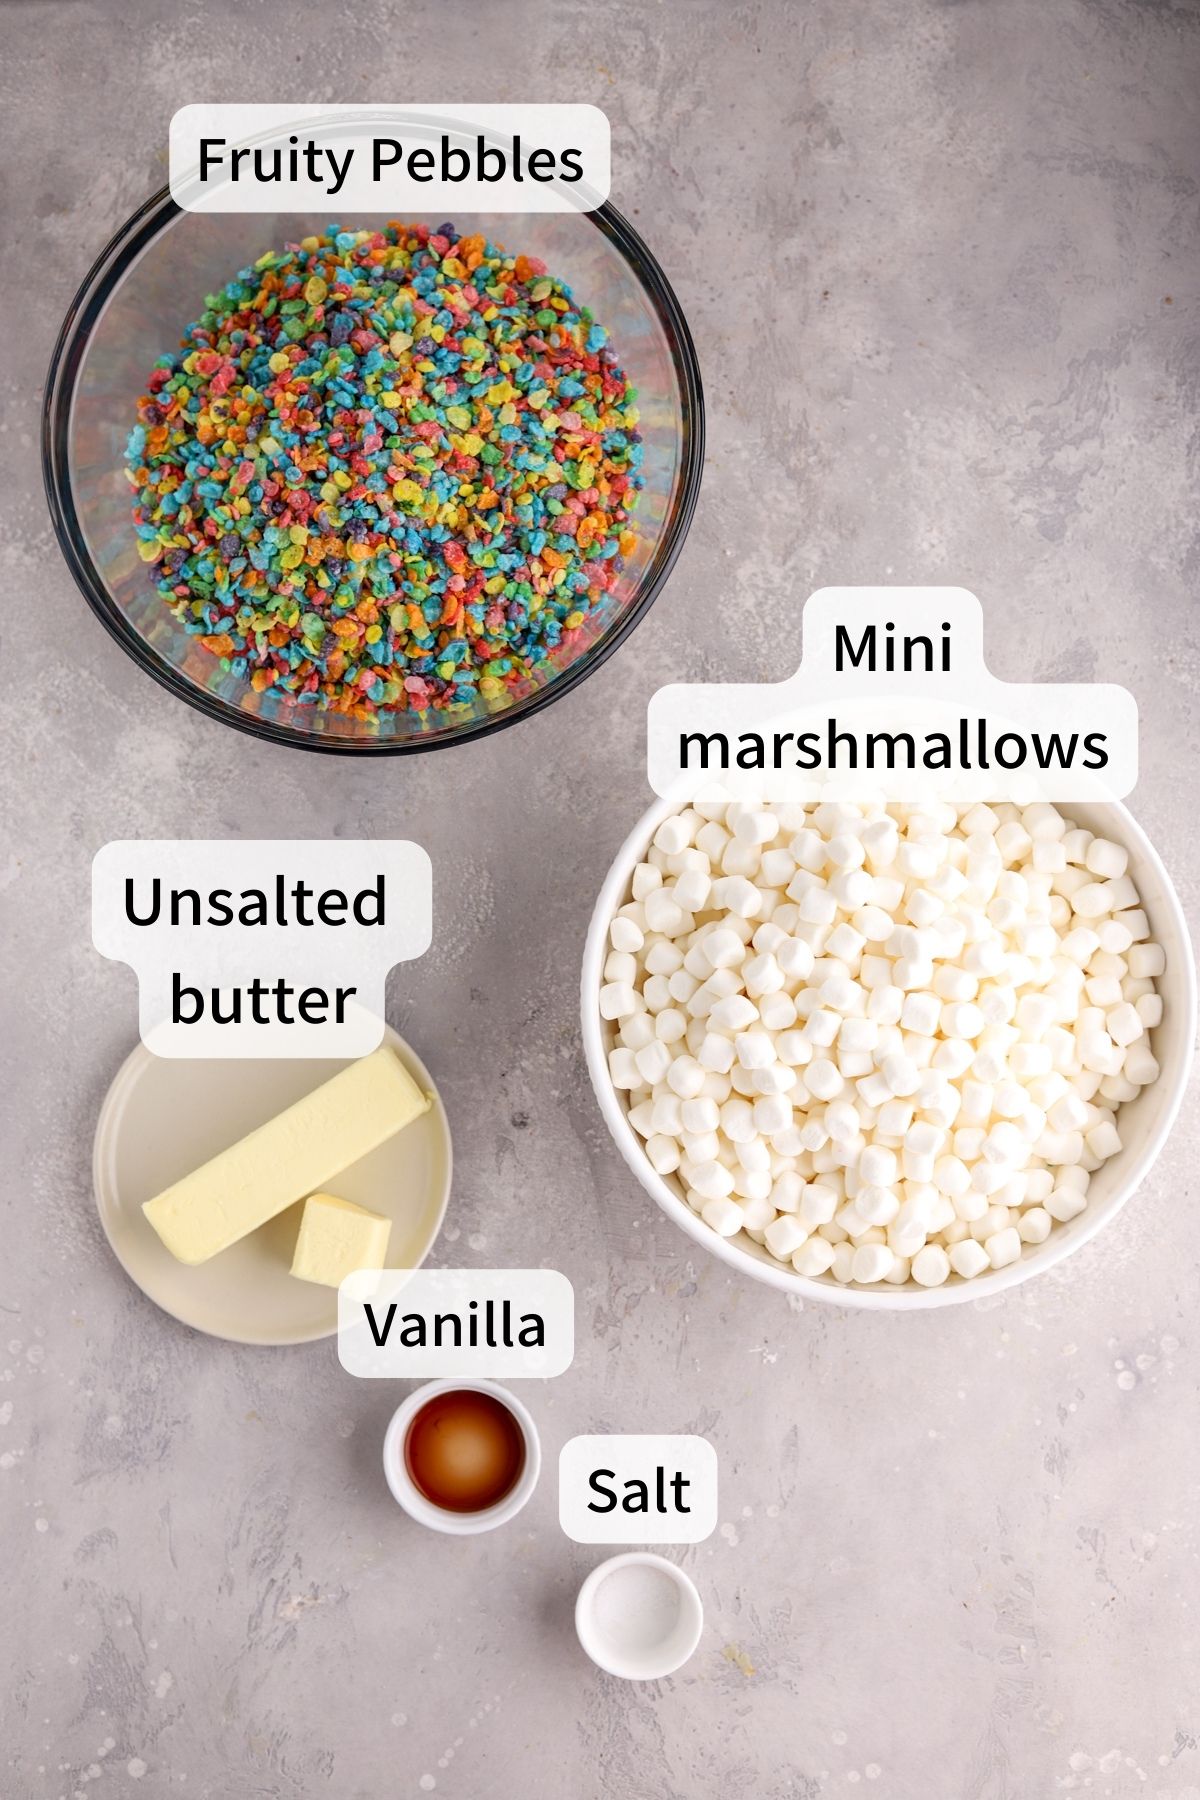
- Fruity Pebbles: Fruity Pebbles are fruity, colorful and delicious. If you grew up eating them, then they’re definitely a nostalgic treat. I recommend adding a little extra Fruity Pebbles on top to add a little crunch!
- Mini marshmallows. It might seem like a lot of marshmallows, but they make these treats extra gooey and delicious. Most of the marshmallows get melted into the butter. A small amount of the mini marshmallows are added at the end. The extra marshmallows only partially melt and become little pockets of gooeyness! Make sure your marshmallows are fresh.
- Unsalted butter: Fruity Pebbles treats always start with melted butter. This recipe uses more butter than other recipes. That extra butter adds so much extra flavor!
- Add salt because a little salt makes anything sweet taste so much better
- Vanilla extract: Vanilla extract makes these Fruity Pebbles treats over the top delicious.
- Salt: Fruity Pebbles and marshmallows are both sweet. The salt balances out the sweetness.
See recipe card below for a full list of ingredients and measurements.
Substitutions and Variations
- You can use salted butter. If you do, there’s no need to add extra salt.
- Instead of mini marshmallows, use regular sized marshmallows.
- Mix in some Rice Krispies in place of the Fruity Pebbles if you want to cut some of the sweetness.
- Butter the baking dish instead of using parchment paper.
- For a smaller batch, simply divide the recipe in half and use an 8 or 9 inch pan.
- If you’re a chocolate lover, you could use Cocoa Pebbles in place of Fruity Pebbles!
Step by Step Instructions
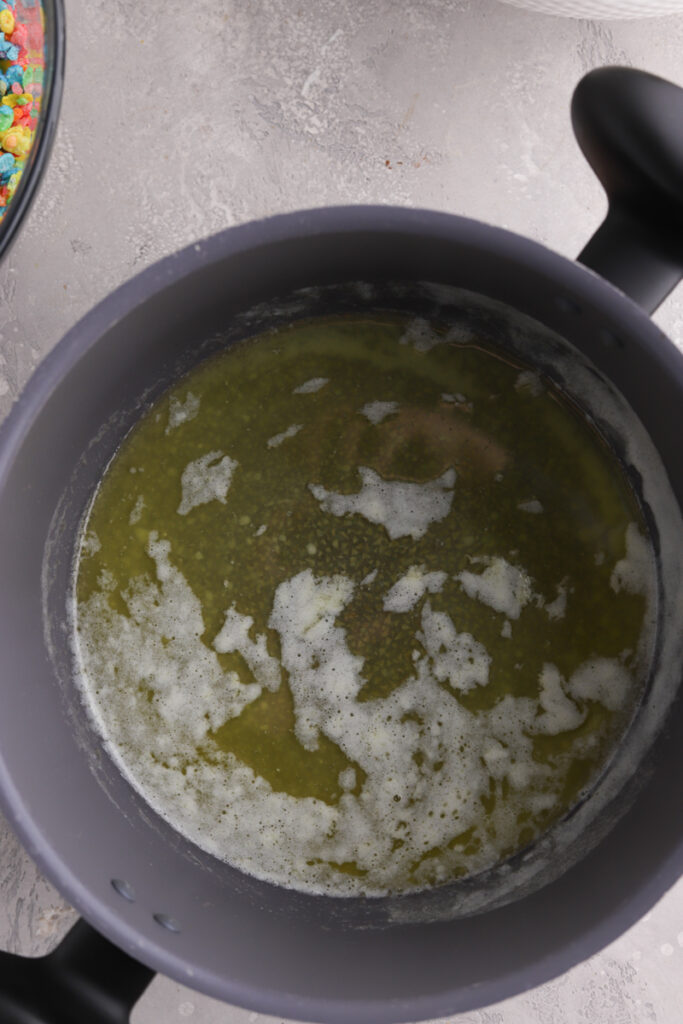
Step 1: Melt the butter in a large pot over medium low heat.
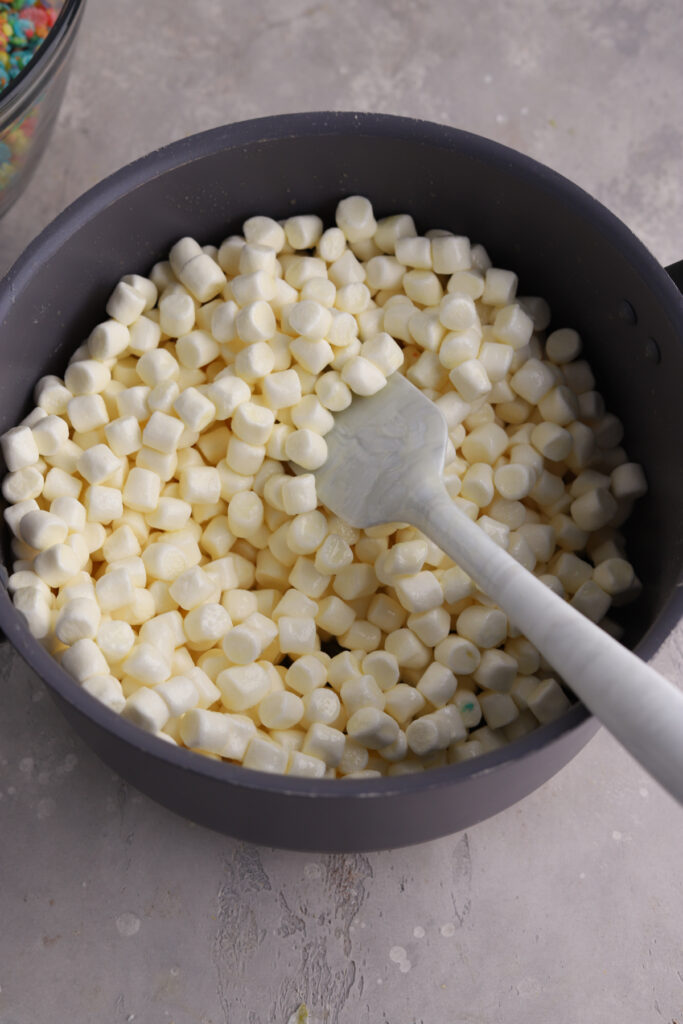
Step 2: Add 9 1/4 cups of the marshmallows (reserve 1 cup of marshmallows for later) and stir til the marshmallows are melted. Remove from heat.
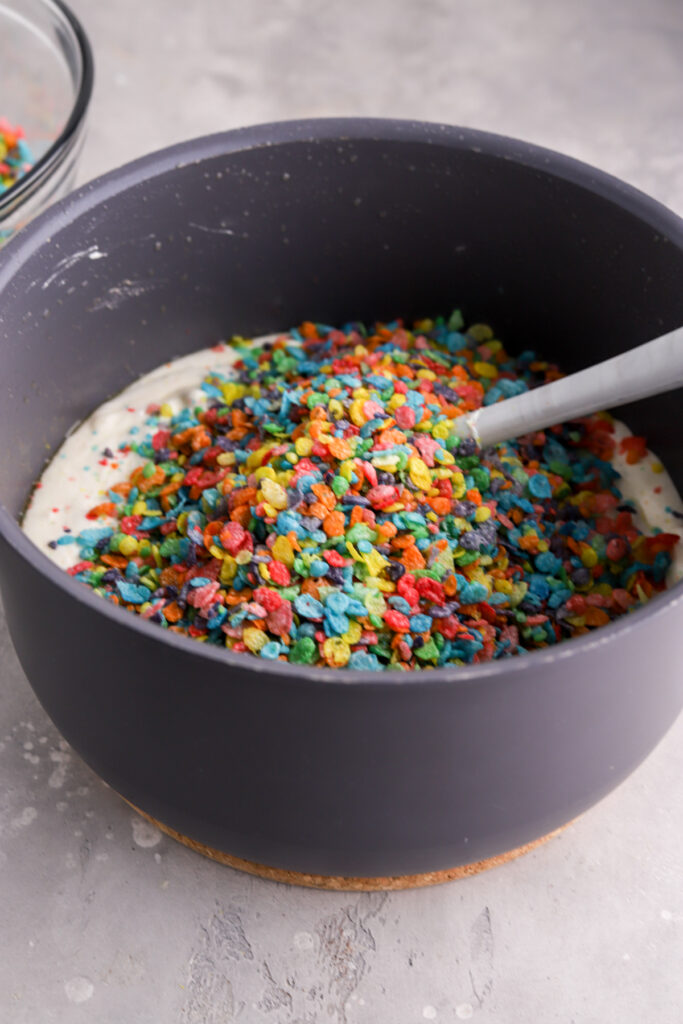

Step 3: Then stir in the vanilla, salt, and 9 cups of the Fruity Pebbles (reserve 1/4 cup of Fruity Pebbles for the topping). Allow mixture to cool in the pot for about five minutes.
Step 4: Fold in the remaining 1 3/4 cups of mini marshmallows.
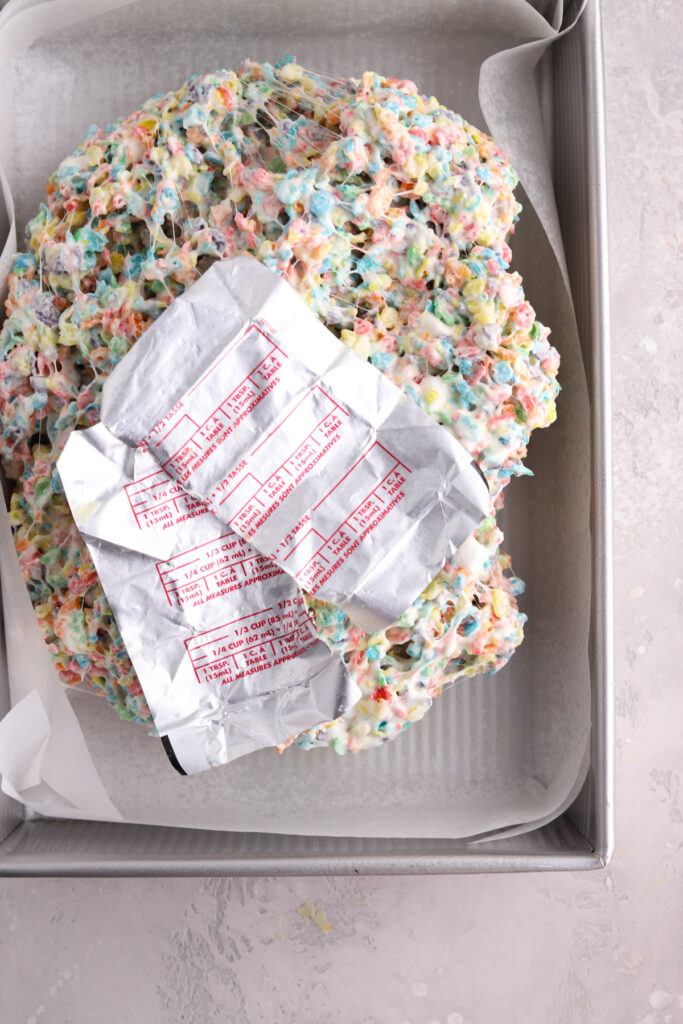
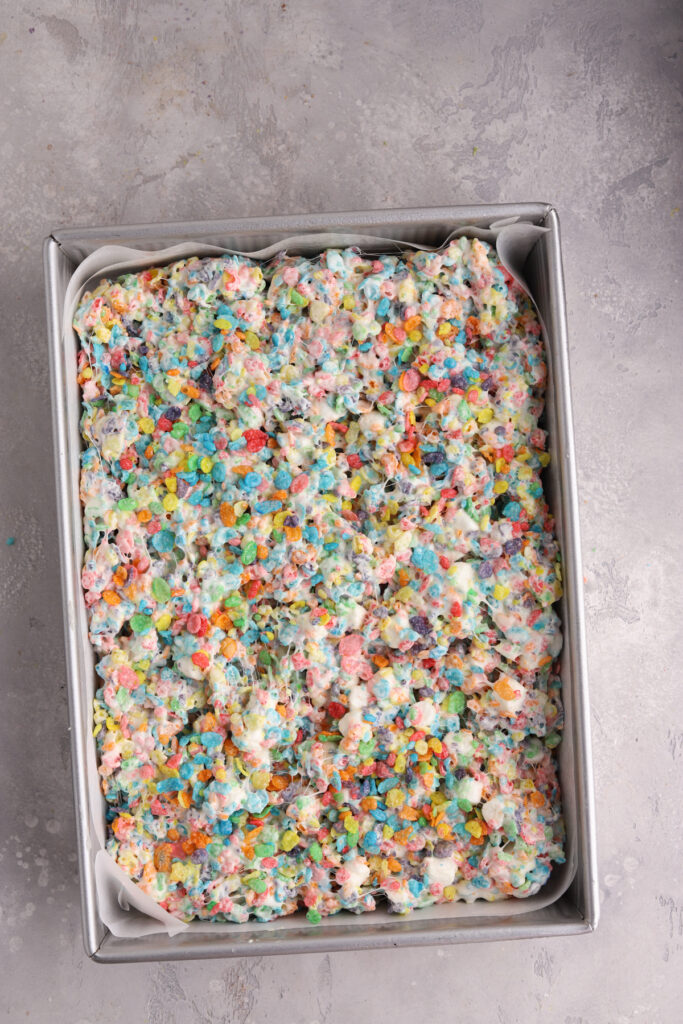
Step 5: Press the Fruity Pebbles crispy treats into a 9×13 inch pan lined with parchment paper. Do NOT press too hard or your treats will end up hard. Press only as much as needed to shape the Fruity Pebbles treats into the pan.
Step 6: Top with the remaining Fruity Pebbles. Leave the treats to set for about 30 minutes. Use the parchment paper to lift the fruity crispy treats out of the pan. Slice and enjoy!
Hint: Use two butter wrapper halves or wax paper to press the mixture into the pan. It’s a little less messy and the mixture won’t stick to them. Wetting your hands will also keep the mixture from sticking.
Expert Tips
1: Remove the butter/marshmallow mixture from heat before adding the Fruity Pebbles.
2. Line the pan with parchment paper. Leave an overhang of parchment paper on two sides and spray the parchment paper with baking spray. This will make it easier to remove the Fruity Pebble treats from the pan.
3: Avoid packing the Fruity Pebbles squares too much when you shape them into the pan. Press them lightly and only as much as needed to spread them.
4: Use two butter wrapper halves, wax paper or wet hands to press the mixture into the pan. It’s a little less messy and the mixture won’t stick to them.
5. Spray a long, sharp knife lightly with baking spray to make sure they don’t stick to the knife.
Recipe FAQs
Yes. Melt the butter and marshmallows in a microwave-safe bowl for about four 30-minute intervals. Stir after each interval until mixture is smooth and combined. Remove from microwave then stir in the vanilla, salt, and Fruity Pebbles.
Pressing down too hard on the mixture will cause the treats to be hard. Also, if your marshmallows are not fresh, the treats will not be soft.
Fruity Pebbles treats will last longer if you store them in the refrigerator, but they will harden. It’s best to store them in an airtight container at room temperature.

Storage
Room Temperature: Store these Fruity Pebbles rice krispie treats in an airtight container at room temperature for up to 3 days. For easy storage, store them right in the pan. Cover the pan with aluminum foil.
More Recipes You’ll Love


Fruity Pebbles Treats
Ingredients
- 11 tablespoons (154 g) unsalted butter
- 11 cups (550 g) mini marshmallows two 10-ounce bags, divided
- ¾ teaspoon (¾ teaspoon) vanilla extract
- ¼ teaspoon (¼ teaspoon) salt
- 9 ¼ cups (370 g) Fruity Pebbles divided
Instructions
- Line a 9×13 inch dish pan with parchment paper leaving excess on two sides (this will make the treats easier to remove from the pan once finished). Lightly spray or grease the parchment paper.
- Melt the butter in a large pot over medium low heat.
- Add 9 1/4 cups of the marshmallows (reserve 1 ¾cup of marshmallows for later) and stir til the marshmallows are melted. Remove from heat.
- Then stir in the vanilla, salt, and 9 cups of the Fruity Pebbles (reserve ¼ cup Fruity Pebbles for sprinkling on top) . Allow mixture to cool in the pot for about five minutes.
- Fold in the remaining 1¾ cups of mini marshmallows.
- Press the Fruity Pebbles crispy treats into a 9×13 inch pan lined with parchment paper. Do NOT press too hard or your treats will end up hard. Press only as much as needed to shape the Fruity Pebbles treats into the pan. Top with the extra 1/4 cup Fruity Pebbles. Press the Fruity Pebbles lightly so that they stick on top. Leave the treats to set for about 30 minutes.
- Use the parchment paper to lift the fruity crispy treats out of the pan. Slice and enjoy!
Notes
Nutrition
Please note that nutritional values are created by an online calculator and should only be used as an estimate.
Leave a Reply